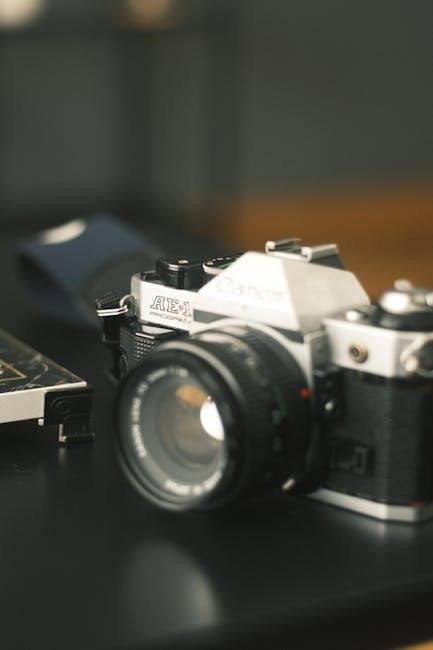
canon ae-1 manual
The Canon AE-1 manual is a comprehensive guide for mastering this iconic 35mm SLR film camera. Released in 1976, it remains a favorite among photographers due to its durability, intuitive design, and advanced features. This manual provides detailed instructions for operating the camera, including aperture priority, manual modes, and compatibility with Canon FD lenses. It also covers essential techniques like film loading, metering, and troubleshooting. Whether you’re a beginner or a seasoned professional, the Canon AE-1 manual ensures you unlock the full potential of this legendary camera.
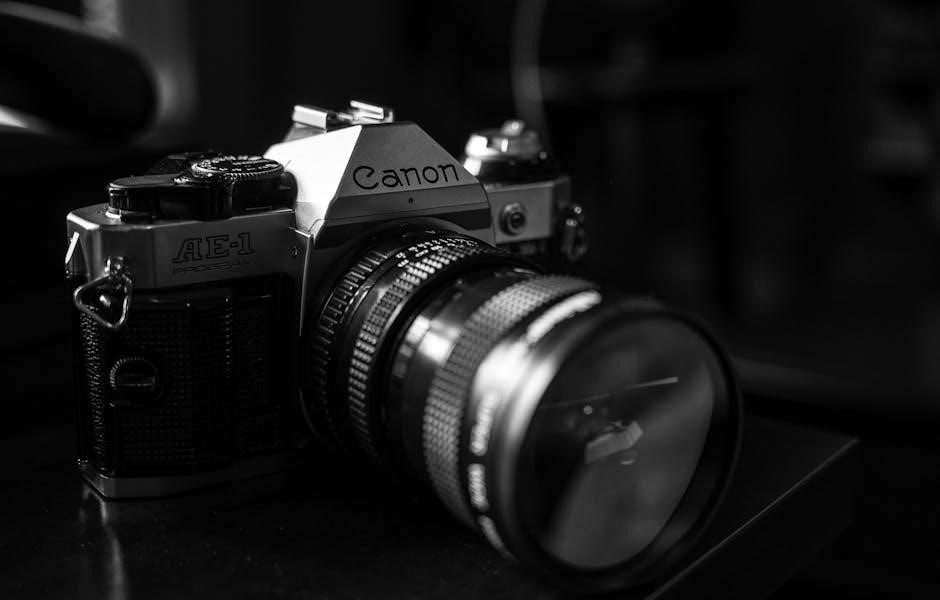
Overview of the Canon AE-1 Camera
The Canon AE-1 is a 35mm single-lens reflex (SLR) film camera introduced in 1976. Known for its compact design and advanced features, it became a popular choice among amateur and professional photographers. The camera features aperture priority and manual modes, compatibility with Canon FD lenses, and a built-in light meter for precise exposures. Its intuitive controls and durability made it a landmark model in film photography history, remaining widely used and admired today for its versatility and timeless appeal.
Importance of the Manual for Beginners and Professionals
The Canon AE-1 manual is essential for both beginners and professionals, offering clear guidance on camera operations, features, and troubleshooting. For newcomers, it explains fundamental concepts like aperture, shutter speed, and film handling, ensuring a smooth learning curve. Professionals benefit from detailed insights into advanced techniques, such as stopped-down metering and backlight control, enhancing their creative control. The manual’s structured approach empowers users to fully utilize the AE-1’s capabilities, making it an indispensable resource for anyone aiming to master this iconic camera.
Key Features of the Canon AE-1
The Canon AE-1 offers aperture priority mode, compatibility with Canon FD lenses, and adjustable shutter and ASA settings, making it versatile for both automatic and manual photography.
Aperture Priority and Program Modes
The Canon AE-1 features Aperture Priority (AP) mode, allowing photographers to set the aperture while the camera automatically adjusts the shutter speed. This mode is ideal for controlling depth of field. The Program Mode offers point-and-shoot simplicity, automatically setting both aperture and shutter speed for effortless photography. These modes cater to both beginners and professionals, providing flexibility and creative control. The manual also details how to switch between modes and optimize settings for various lighting conditions, ensuring versatile and precise photography experiences.
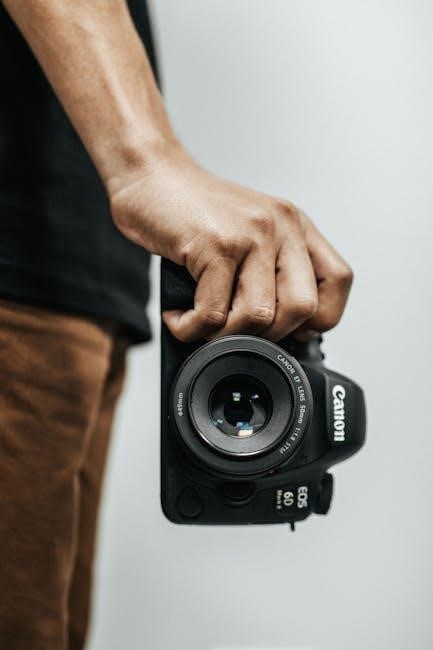
Compatibility with Canon FD Lenses
The Canon AE-1 is fully compatible with Canon FD lenses, enhancing its versatility for various photography needs. FD lenses, including wide-angle and telephoto options, expand the camera’s capabilities. The AE-1 supports TTL (Through-The-Lens) metering with FD lenses, enabling precise exposure control in both automatic and manual modes. While non-FD lenses can be used, AE functionality is only available with FD lenses. Proper alignment of the red dots on the lens and camera ensures accurate metering and optimal performance. This compatibility is beneficial for both beginners and professionals, offering ease of use and high-quality results.
Shutter Speed and ASA Film Speed Settings
The Canon AE-1 offers precise control over shutter speed and ASA film speed settings, essential for achieving optimal exposure. Shutter speeds range from 1/1000th of a second to 1 second, plus a Bulb (B) mode for longer exposures. The ASA setting adjusts the camera’s sensitivity to film speed, ranging from 25 to 3200. Proper alignment of these settings ensures accurate exposure, catering to diverse lighting conditions and film types. This feature-rich system allows photographers to fine-tune their shots, making the AE-1 adaptable for various creative and technical demands, from casual snapshots to professional-grade photography.
Understanding the Camera Components
The Canon AE-1’s components are thoughtfully designed for intuitive operation; Key elements include the lens mount, viewfinder, mode dial, shutter button, and film advance lever, ensuring seamless functionality.
Naming the Parts: Top View
The top view of the Canon AE-1 reveals essential controls for quick access. The mode dial allows switching between manual and aperture priority modes, while the shutter speed dial sets exposures. The ASA dial adjusts film sensitivity, and the film advance lever moves the film forward. A frame counter keeps track of exposures, and a battery check button ensures power is available. These components are strategically placed for intuitive operation, making the AE-1 user-friendly for photographers of all skill levels.
Naming the Parts: Bottom View
The bottom view of the Canon AE-1 features the tripod socket for stable mounting and the battery compartment, which houses the camera’s power source. The motor drive coupling is located on the bottom, enabling compatibility with optional accessories like the Motor Drive MA. The film rewind button is also accessible from this side, allowing users to rewind film easily. These components are designed for practicality, ensuring smooth operation and enhancing the camera’s functionality for photographers. The layout is intuitive, making it easy to handle and maintain the camera.

Operating the Camera
Mastering the Canon AE-1 involves understanding its intuitive controls and modes. The camera offers seamless operation, combining automatic and manual functionalities for precise control over your photography experience.
Automatic and Manual Modes
The Canon AE-1 offers versatile shooting options with its automatic and manual modes. In automatic mode, the camera adjusts settings for ease of use, ideal for quick shots. Manual mode provides full control over aperture, shutter speed, and ASA film speed, catering to advanced photographers. Switching between modes is straightforward, allowing users to adapt to different lighting conditions and creative needs efficiently. This flexibility makes the AE-1 a powerful tool for both beginners and professionals, ensuring optimal results in various photography scenarios. The manual also guides users on when to use each mode effectively for the best outcomes.
Using the Built-in Light Meter
The Canon AE-1’s built-in light meter simplifies exposure control, offering accurate readings for optimal results. It uses a central emphasis metering system, ensuring balanced exposures in most lighting conditions. For precise adjustments, the meter supports stopped-down metering with Canon FD lenses, providing real-time aperture readings. The meter also accommodates a wide ASA film speed range of 12-3200, catering to various lighting scenarios. By aligning the meter’s needle with the zero mark, photographers can achieve perfectly exposed shots effortlessly. This feature is indispensable for both automatic and manual shooting modes, enhancing overall performance and creativity behind the lens.
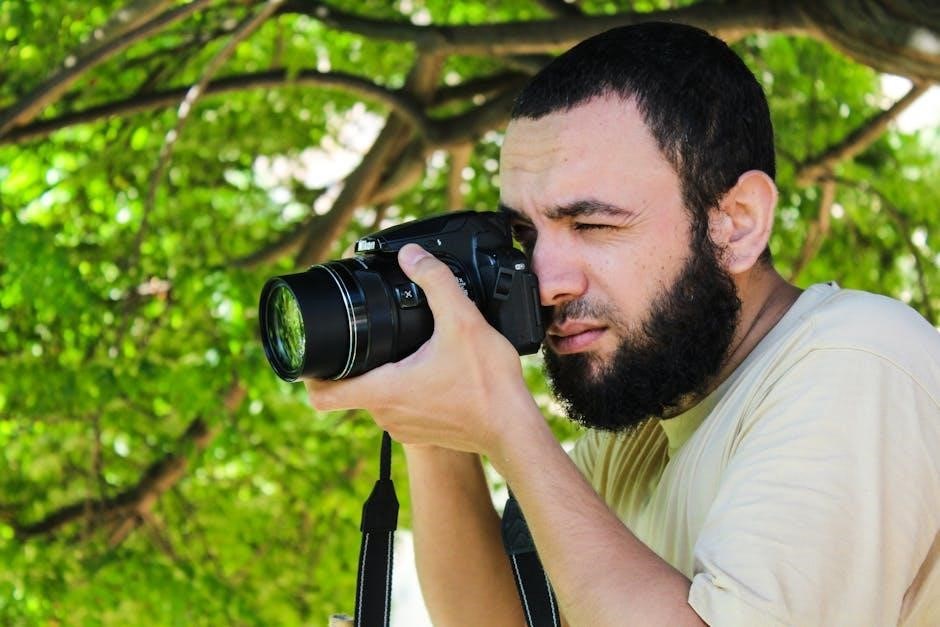
Focusing and Metering Techniques
The Canon AE-1 offers precise focusing and metering techniques to enhance your photography. Use the split-image microprism in the viewfinder for accurate focus, especially in low-light conditions. The camera’s central emphasis metering system ensures balanced exposures by prioritizing the center of the frame. For challenging lighting, employ the AE Lock feature to meter a specific area and maintain those settings. Additionally, the microprism ring aids in quick focusing, while stopped-down metering with FD lenses provides precise aperture readings. These techniques allow for greater control over your shots, ensuring sharp focus and optimal exposure in various scenarios.

Advanced Shooting Techniques
The Canon AE-1 supports advanced techniques like shooting against backlight, stopped-down metering, and multiple exposures. These methods enhance creativity and control, leveraging the camera’s manual capabilities and FD lens compatibility for precise results.
Shooting Against the Light with Backlight Control
Shooting against the light requires careful use of the Canon AE-1’s backlight control switch. This feature adjusts exposure to capture detail in both bright and dark areas. When backlit, activate the switch to compensate for high contrast. Use the built-in meter to check exposure and adjust settings as needed. For optimal results, pair with an FD lens and ensure proper alignment of the metering system. This technique enhances creativity, allowing you to shoot in challenging lighting conditions effectively; The AE-1’s manual controls provide precise adjustments for achieving balanced exposures in backlit scenes, ensuring vibrant and detailed photographs. Always review your settings before capturing the shot.
Stopped-Down Metering with FD Lenses
Stopped-down metering with Canon FD lenses on the AE-1 ensures accurate exposure readings by measuring light through the lens at the selected aperture. This method is ideal for precise control, especially in challenging lighting conditions. To use this feature, attach an FD lens and enable stopped-down metering via the camera’s settings. The TTL (Through-The-Lens) metering system will adjust to the exact aperture, providing a more accurate exposure reading. This technique is particularly useful for professional photographers seeking optimal results. The AE-1’s compatibility with FD lenses enhances its versatility, making it a reliable choice for advanced photography.
Additional Functionalities
The Canon AE-1 offers battery usage and maintenance tips, film loading and advance guidance, flash synchronization, and self-timer features, enhancing its functionality for photographers.

Battery Usage and Maintenance
The Canon AE-1 requires a 6V silver-oxide battery (4LR44 or equivalent) to power its electronic shutter and metering system. To replace the battery, open the compartment on the bottom plate and ensure correct polarity. Avoid mixing old and new batteries. If the battery is dead, the camera will not function in automatic modes. Store batteries in a cool, dry place and replace them every 1-2 years, even if unused. Proper battery maintenance ensures accurate metering and reliable performance. Always use compatible replacements to maintain optimal functionality.
Film Loading and Advance
Loading film into the Canon AE-1 is a straightforward process. Open the camera back by pulling the rewind knob. Insert the film cartridge, ensuring it aligns with the spool. Advance the film by turning the advance lever until it stops, then set the ASA/ISO using the dial. The camera is designed for manual film advance, with a lever that must be wound after each shot. The frame counter will track your exposures. When finished, rewind the film using the rewind knob before removing it. Proper film handling ensures smooth operation and prevents exposure errors.
Flash and Self-Timer Features
The Canon AE-1 supports flash photography using Canon’s dedicated Speedlite flashes. The hot shoe on top of the camera allows for seamless flash attachment. For self-timer use, the camera features a 10-second delay, activated by a lever on the front. This is ideal for tripod-based shots or group photos. The manual provides clear instructions on synchronizing flash and self-timer functions, ensuring proper exposure and timing. These features enhance versatility, making the AE-1 adaptable to various shooting scenarios, from portraits to low-light environments.
Related Posts
runleader tachometer manual
Need help with your Runleader tachometer? Find detailed manuals, troubleshooting tips, and unlock its full potential! Get back to running smoothly now.

alaska driver manual
Need the official Alaska Driver Manual? We’ve got you covered! Download the latest version, practice with quizzes, and get ready to drive safely. **Alaska Driver Manual** made easy!
stanley fatmax 700 instruction manual
Get the official Stanley FatMax 700 instruction manual! Easy download, step-by-step guides, and troubleshooting tips. Perfect for DIY enthusiasts and professionals. Download now!