
delta 6-in-1 crib assembly instructions
Welcome to the Delta 6-in-1 Crib Assembly Guide. This crib offers an all-in-one solution, converting from a crib to a toddler bed, daybed, and full-size bed. Designed for easy assembly, it features clear instructions and emphasizes safety. Follow this guide for a seamless setup and a safe, stylish sleeping space for your baby.
Overview of the Delta 6-in-1 Convertible Crib
The Delta 6-in-1 Convertible Crib is a versatile and durable option for your baby’s nursery. Designed with a sturdy wood construction, it features a timeless design with slightly arched headboards for a classic look. This crib grows with your child, converting seamlessly from a crib to a toddler bed, daybed, sofa, and full-size bed, offering years of use. It meets strict safety standards, including JPMA certification, ASTM testing, and CPSC certification, ensuring your baby’s safety. The crib is GREENGUARD GOLD certified, guaranteeing low chemical emissions. With adjustable mattress height and easy conversion options, it’s a practical choice for parents seeking a long-lasting, stylish solution for their child’s sleep space.
Importance of Following Assembly Instructions
Following the Delta 6-in-1 Crib assembly instructions is crucial for ensuring your child’s safety and the product’s durability. Proper assembly prevents structural issues and potential hazards, such as loose parts or uneven surfaces. The instructions are designed to guide you through each step, ensuring all components are securely fastened. Skipping steps or misassembling parts could lead to instability, compromising the crib’s integrity. Additionally, correct assembly ensures compliance with safety standards, protecting your child from accidents. Take your time and carefully follow each guideline to create a safe and sturdy environment for your baby to sleep and grow.
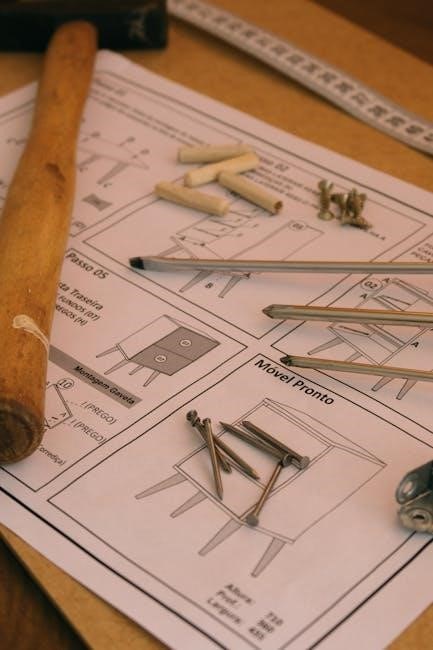
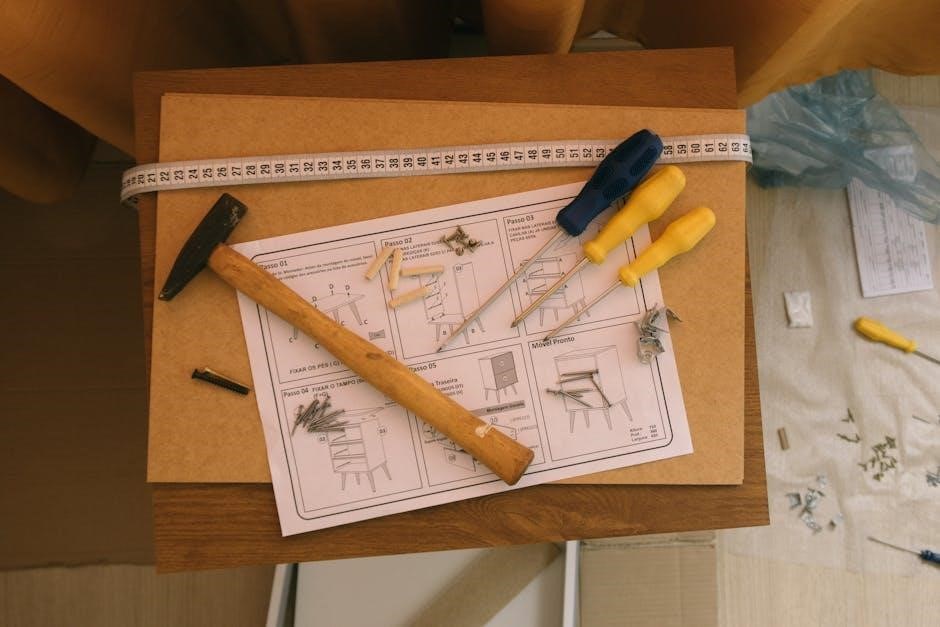
Tools and Parts Required for Assembly
The Delta 6-in-1 Crib requires basic tools like an Allen wrench and screwdriver. All necessary hardware, such as bolts and screws, is included. Ensure all parts are pre-drilled for easy assembly.

Tools Needed for Assembly
To assemble the Delta 6-in-1 Crib, you’ll need a few basic tools. An Allen wrench (typically provided) is essential for securing bolts. A standard screwdriver (flathead or Phillips) may also be required for certain parts. Additional tools like a rubber mallet or socket wrench can be helpful for tighter connections. Ensure all tools are within easy reach to streamline the process; Organize the hardware (bolts, screws, and brackets) beforehand to avoid delays. Refer to the instruction manual for specific tool recommendations, as some steps may require precision. Proper tools ensure a secure and efficient assembly process.
Key Components and Hardware Provided
The Delta 6-in-1 Crib includes essential components for assembly, such as the crib frame, legs, slats, and side panels. The mattress support system is also provided to ensure proper height adjustment. Hardware includes bolts, screws, and Allen wrench-compatible fasteners. An Allen wrench is typically included in the package for convenience. Additional components may feature safety brackets or conversion kits for different configurations. All parts are designed to meet safety standards and ensure durability. It’s important to use only the hardware provided to maintain structural integrity and comply with safety guidelines. Before starting, verify that all components and hardware are accounted for by cross-referencing with the parts list in the manual.

Safety Precautions and Preparation
Ensure a safe assembly process by clearing a large workspace and keeping tools out of children’s reach. Always wear safety gloves and eyewear. Follow all instructions carefully to avoid injuries and ensure the crib’s stability. Double-check each step to prevent errors that could compromise safety. Use only the provided hardware and tools to maintain product integrity. Keep small parts away from children to prevent choking hazards. Properly assemble all components to meet safety standards and ensure a secure environment for your baby. A well-prepared workspace and adherence to guidelines are essential for a successful and safe assembly experience. Never rush through critical steps, as this can lead to structural weaknesses in the crib. Regularly inspect the crib for any loose parts after assembly to maintain safety over time. By following these precautions, you can create a safe and durable sleeping space for your baby. Always refer to the manual for specific safety recommendations and compliance with industry standards. Proper preparation and caution will ensure a smooth assembly process and a safe environment for your child.
Safety Guidelines Before Starting Assembly
To ensure a safe assembly process, start by reading all instructions thoroughly. Clear a large, flat workspace free from distractions and keep all tools out of children’s reach. Wear safety gloves and eyewear to protect yourself during assembly. Ensure all parts are JPMA certified, ASTM tested, CPSC certified, and UL verified for safety compliance. Verify that the crib meets ASTM and CPSC standards for mattress dimensions (27 1/4″ x 51 5/8″ with a thickness not exceeding 6″). Avoid using power tools near children and ensure proper ventilation when handling materials. Double-check each step to prevent errors that could compromise the crib’s stability. Keep small hardware secure to avoid choking hazards. Always follow the manufacturer’s guidelines for assembly and safety precautions to ensure a secure environment for your baby.
Preparing the Workspace and Tools
Before starting, prepare a spacious, well-lit workspace free from clutter and distractions. Lay down a soft cloth or mat to protect the crib parts from scratches. Gather all tools provided or recommended, such as an Allen wrench, screwdriver, and bolts. Organize the hardware (e.g., screws, dowels, and cam locks) in labeled containers for easy access. Ensure all components are accounted for by cross-referencing the parts list. Keep the instruction manual within reach for quick reference. Charge any power tools, like electric screwdrivers, and test them to ensure they’re functioning properly. Having everything prepared will streamline the assembly process and minimize potential delays or frustrations. Safety gloves and eyewear are optional but recommended to protect against minor injuries during assembly.
Step-by-Step Assembly Instructions
Assemble the crib frame and legs, then attach the sides and slats. Secure the mattress support and complete with finishing touches for a sturdy bed setup.

Assembling the Crib Frame and Legs
Begin by assembling the crib frame and legs, ensuring a stable base for the mattress. Use the provided Allen wrench to attach the legs to the frame. Align the leg bases with the pre-drilled holes on the crib’s underside and tighten the bolts firmly. Avoid over-tightening to prevent damage. Once the legs are securely attached, place the crib frame on a soft, flat surface to ensure stability. Double-check that all connections are tight and the frame is level. This step is crucial for safety and proper functionality. Proceed to the next step once the frame and legs are correctly assembled and stable.
Attaching the Sides and Slats
Next, attach the sides and slats to the crib frame, ensuring a secure and even fit. Start by aligning the side panels with the frame’s pre-drilled holes. Use the provided bolts to fasten them tightly, ensuring no gaps. After securing the sides, install the slats evenly across the crib’s width. Tighten each slat’s screws firmly to prevent movement. Make sure all slats are evenly spaced and aligned for proper mattress support. Double-check that all connections are secure and the crib feels stable. Properly attaching the sides and slats is critical for safety and structural integrity. Refer to the manual for specific bolt locations and torque requirements to avoid over-tightening. Once complete, the crib should be sturdy and ready for the mattress support installation.
Securing the Mattress Support and Finishing Touches
Once the crib frame and sides are assembled, focus on securing the mattress support. Align the mattress support brackets with the pre-drilled holes on the crib’s interior. Use the provided screws to fasten them tightly, ensuring the support is level and sturdy. Double-check that all screws are securely tightened to prevent any movement. After securing the mattress support, inspect the crib for any loose parts or uneven surfaces. Tighten any remaining bolts or screws and ensure all components are properly aligned. Finally, wipe down the crib with a soft cloth to remove any dust or debris from assembly. Your crib is now ready for the mattress and bedding, providing a safe and comfortable sleeping space for your baby.

Converting the Crib to Different Configurations
The Delta 6-in-1 crib transitions seamlessly from a crib to a toddler bed, daybed, or full-size bed. Follow the included instructions for each conversion step.
Converting to a Toddler Bed
To convert the Delta 6-in-1 crib to a toddler bed, start by removing the crib’s front rail and lowering the mattress to its lowest position. Ensure all bolts are securely tightened. Next, attach the toddler guardrail (usually included) to the sides of the crib using the provided hardware. This rail acts as a safety barrier, preventing your child from rolling out of bed. Refer to the assembly manual for specific torque settings and alignment instructions. Double-check that all connections are stable and the bed is level. Finally, place a toddler-sized mattress (sold separately) inside the frame, ensuring it fits snugly without gaps. This configuration provides a safe and comfortable transition for your growing child.

Converting to a Daybed or Sofa
Converting the Delta 6-in-1 crib to a daybed or sofa is a straightforward process that enhances your child’s comfort and the room’s aesthetics. Begin by removing the front rail and lowering the mattress to the desired height. Next, attach the daybed rail (if included) to create a backrest. For a sofa-like appearance, you can add optional cushions or upholstery. Ensure all bolts are tightened securely and the structure is stable. Refer to the assembly manual for specific hardware requirements. This configuration is ideal for older children, offering a cozy spot for relaxation. Always verify that the conversion adheres to safety standards and your child’s weight limits.
Converting to a Full-Size Bed
Converting the Delta 6-in-1 crib to a full-size bed is a great option for long-term use as your child grows. Begin by removing the crib sides and disassembling the toddler bed or daybed configuration. Attach the full-size bed conversion rails (sold separately) to the crib frame, ensuring they are securely fastened. Place the mattress on top, making sure it fits snugly within the frame. Double-check that all bolts and screws are tightened for stability. This conversion is ideal for older children or teenagers, offering a spacious and comfortable sleeping solution. Always verify the weight capacity and ensure the mattress meets the recommended size specifications for a full-size bed.

Troubleshooting Common Assembly Issues
If you encounter issues during assembly, start by double-checking the hardware and instructions. Misaligned parts or loose connections are common problems. Ensure all bolts and screws are tightened properly. If a piece doesn’t fit, verify it’s in the correct orientation. Missing or extra hardware can be resolved by contacting Delta Children’s customer support. For wobbly frames, re-examine the leg assembly and ensure all stabilizers are securely attached. If the mattress support doesn’t align, adjust the height settings carefully. Refer to the manual for diagrams or videos for clarity. Always follow safety guidelines to avoid structural weaknesses. If issues persist, consult the troubleshooting section in the official Delta 6-in-1 crib assembly instructions or reach out to their support team for assistance.
Related Posts

cartisan vape pen instructions
New to your Cartisan vape pen? We’ve got you covered! Simple instructions, helpful tips, and common fixes – get the most out of your vape experience now. **Cartisan vape pen** made easy!

brother sewing machine ls 2125 instruction manual
Lost your manual? Find the official Brother LS2125 instruction manual here! Easy-to-follow guides, troubleshooting tips & more to get your sewing machine running smoothly. **Brother LS2125**!

instruction tuning vs fine tuning
Discover the key differences between instruction tuning and fine tuning. Learn how to optimize your models effectively with expert tips from Brothers on Tech.